Easy Halloween Classroom Handouts: DIY Bracelet Kits (Free Printable Tag)
this post may contain affiliate links. I may receive a commission for purchases made through links in this post.
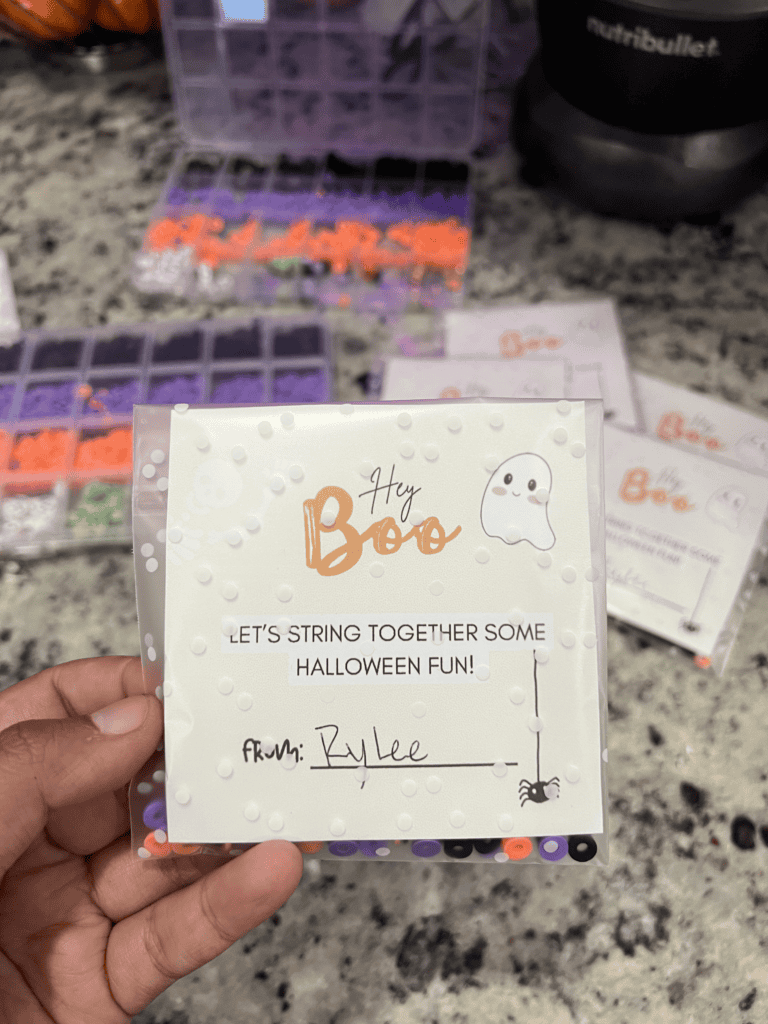
These DIY bracelet Halloween classroom handouts are both fun and easy while also being practical!
Hi friends,
Happy Halloween! ?
When I signed up to bring halloween goody bags for my sons Kindergarten halloween party, my daughter immediately wanted to bring something for her classroom halloween party too!
She’s in 3rd grade now and considered “upper elementary” so we had to brainstorm something that wasn’t too kid-like, wasn’t going to cost an arm and a leg and wasn’t something that hopefully wouldn’t just end up in the trash anyway.
After some thought, we landed on mini DIY bracelet kits 🙂
This post is all about DIY bracelet Halloween Classroom Handouts
Here’s what you’ll need:
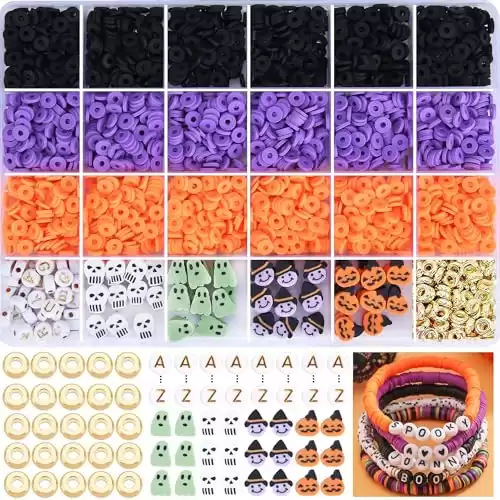
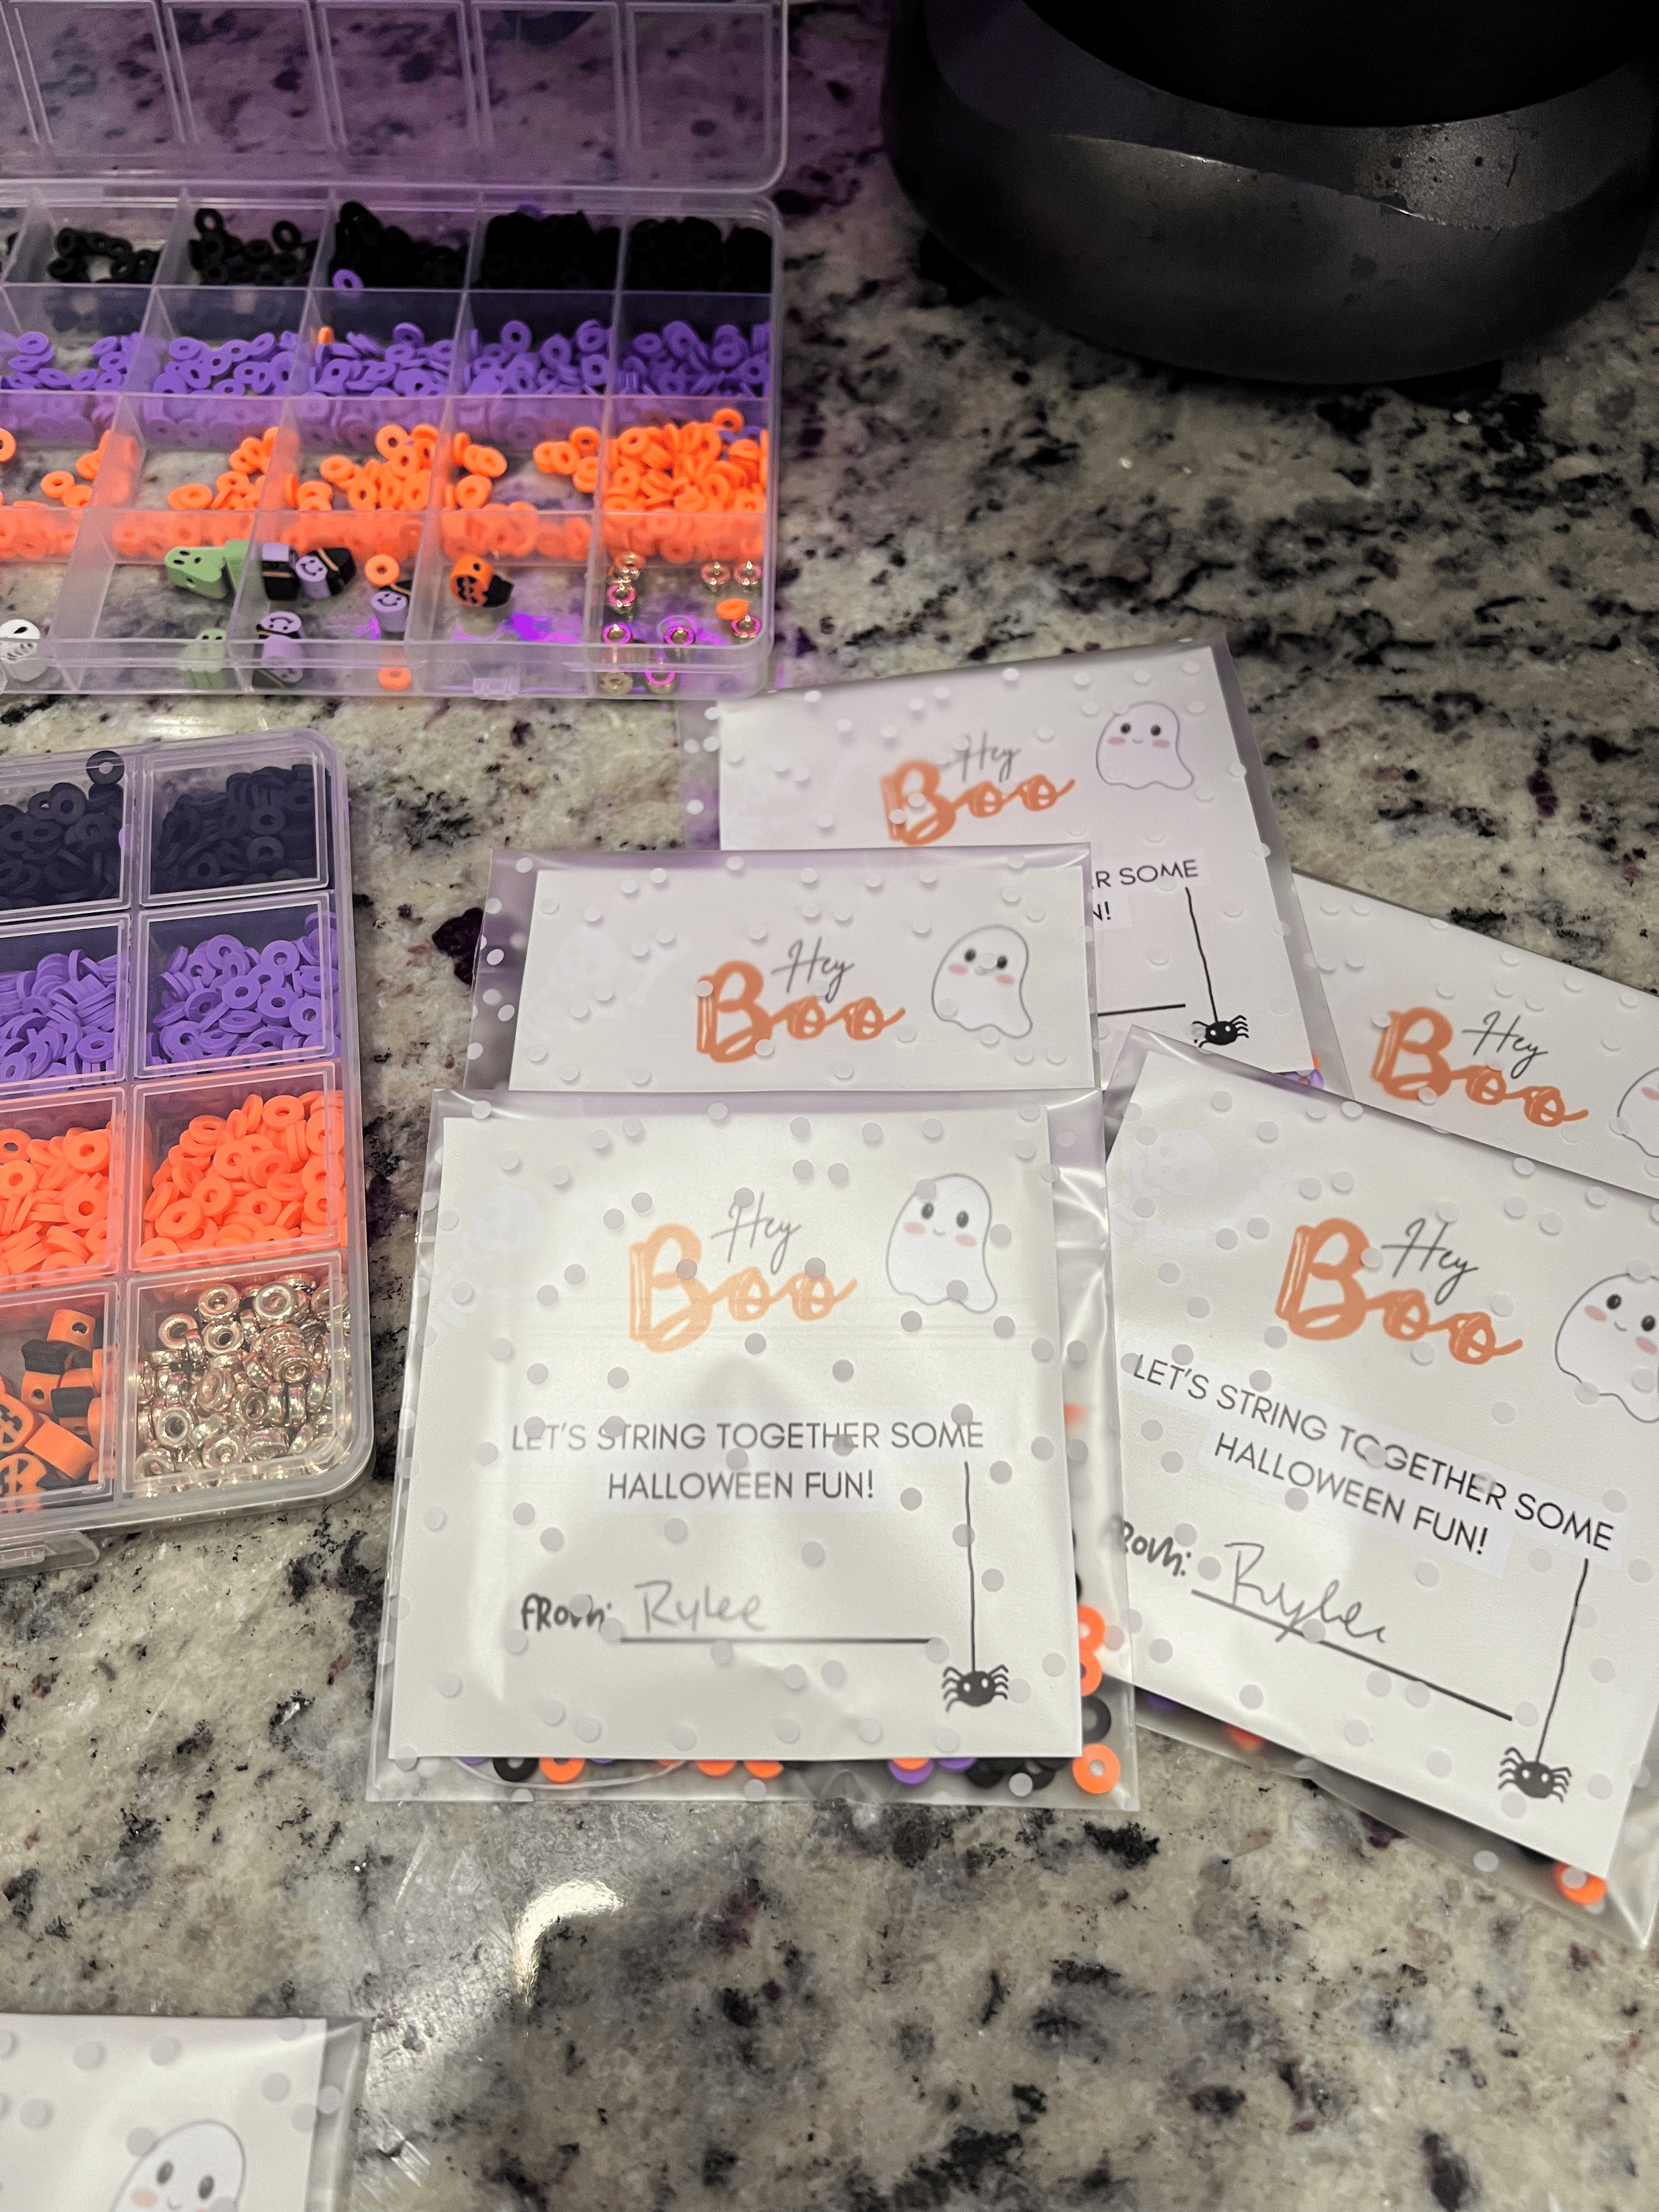
1. Halloween beads
My daughter was very specific about which beads she wanted to use.
They couldn’t be bulky plastic beads, those are for younger kids I learned.
They had to be clay beads, they’re super trendy apparently! Her friends all agreed with her on this too lol
Definitely use whichever beads you and your kiddo like best but I wanted to include the link to the exact set used and shown in the photos 🙂
2. Cellophane bags
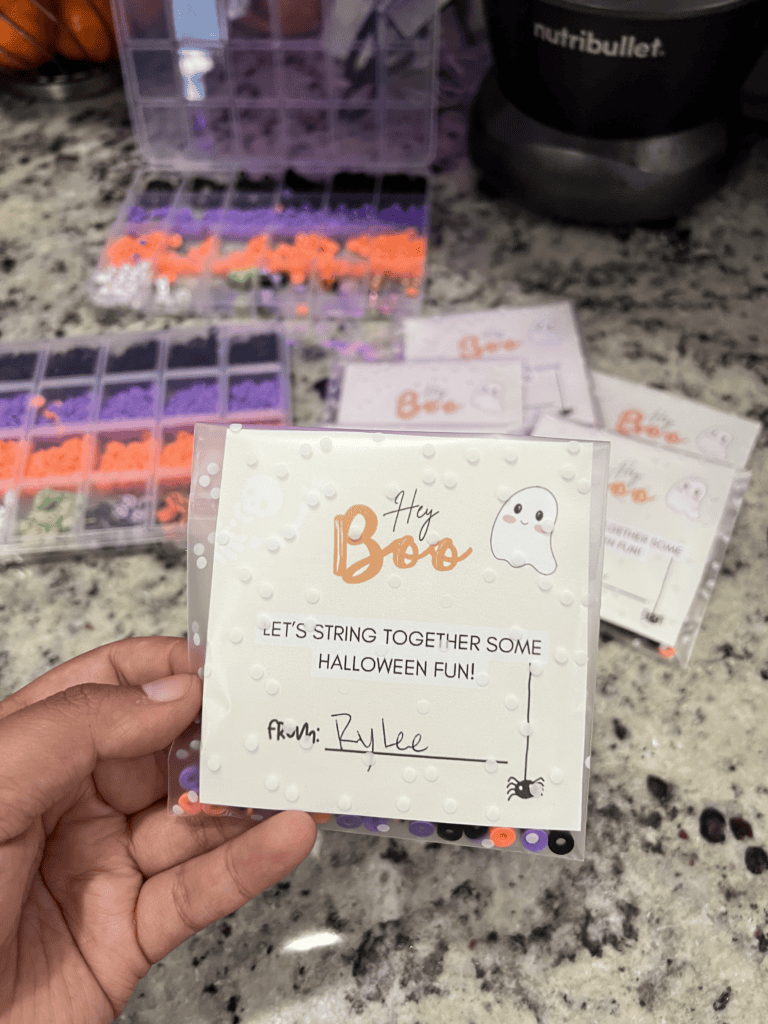
These cellophane bags are 4×4 inches and self adhesive!
We thought the polka dots were cute when we ordered them but they ended up blocking some of he text and the frosted bag makes it hard to clearly see the tag if the beads were in the front. Definitely cute but just not quite right for this.
If I were to do this project again I would probably use a clear self adhesive cellophane bag instead like this one.
3. Printable tag
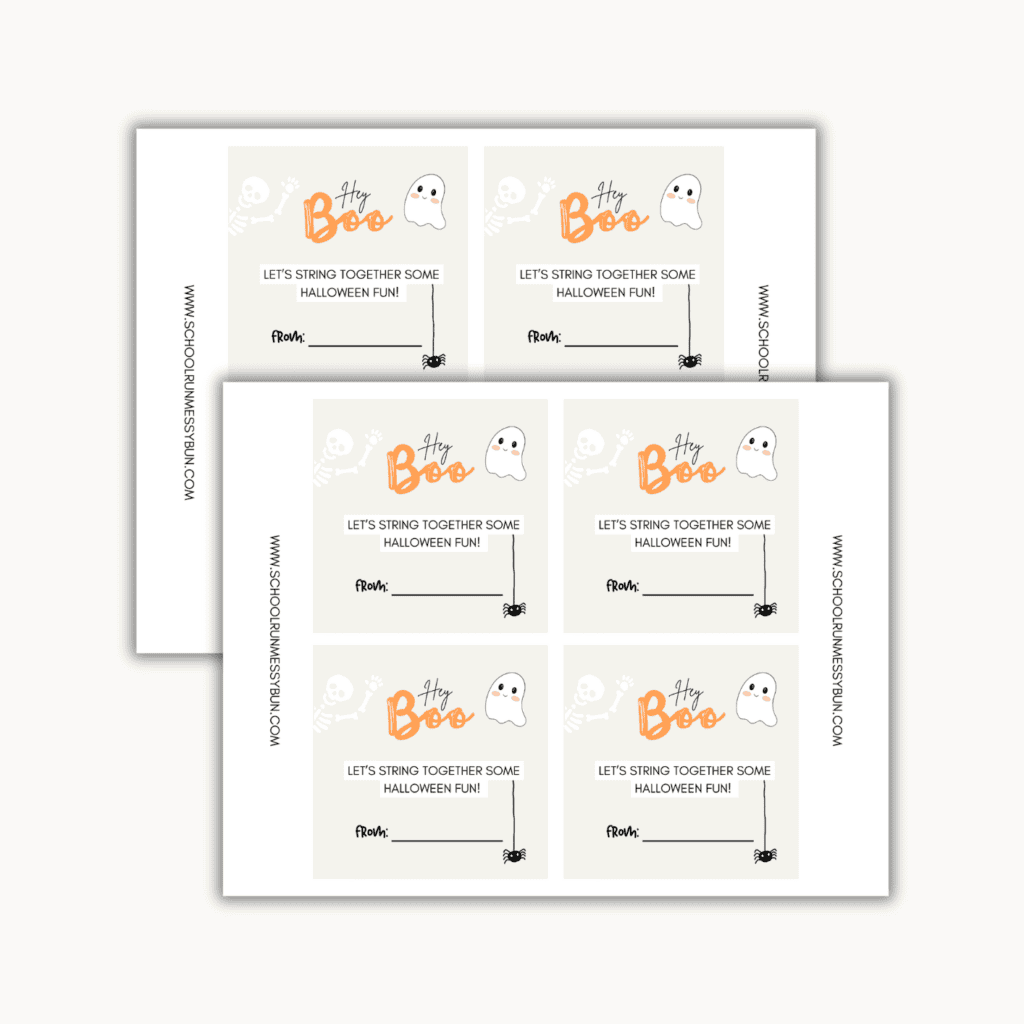
Note: The printable tags are roughly 3.7 x 3.7 and fit perfectly into the linked 4×4 cellophane bags!
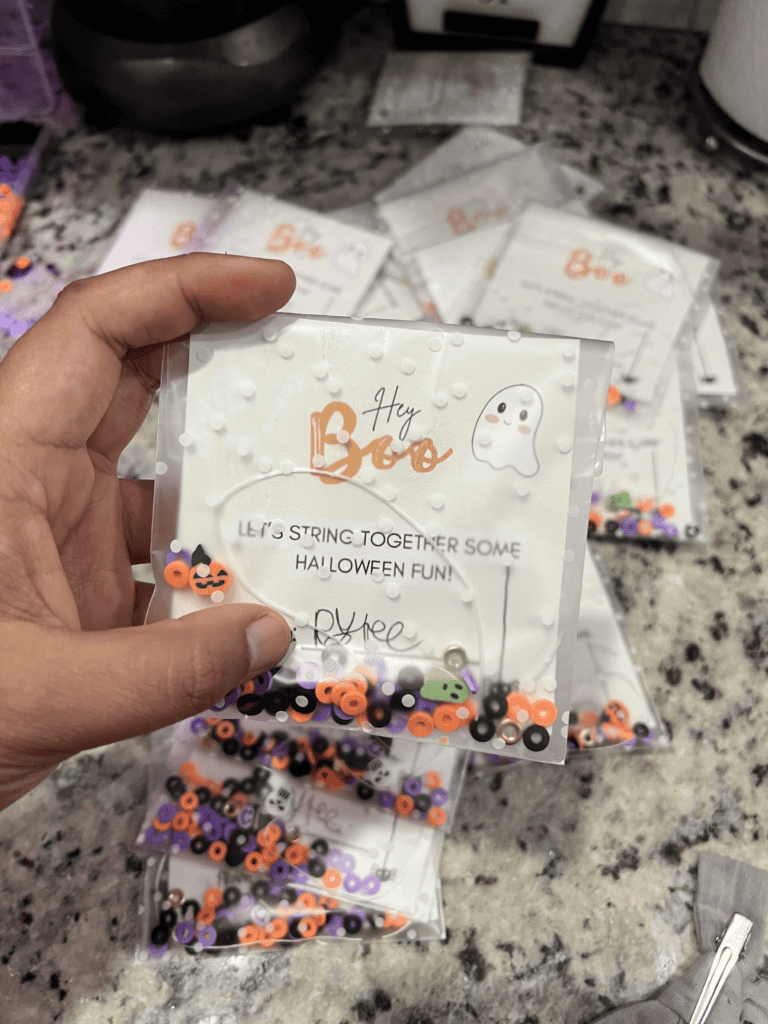
We worked as a team to put these bags together for all of her classmates and it was great. We even got to see a few kids use it and make their bracelet during the Halloween party!
Highly recommend!
